
Table of contents [Show]
What is Solana ?
Solana was founded in 2017 when Anatoly Yakovenko published a whitepaper draft detailing a new concept called Proof of History (PoH). Anatoly believed that with this new technique, he could automate the transaction ordering process for blockchains, in order to allow a higher scalability.
Later on, Anatoly teamed up with Greg Fitzgerald to build a single blockchain network that uses POH.
Why Ledger Nano S/X?
Taking into account this is a physical device, it’s considered to be a more secure method of protecting your crypto.
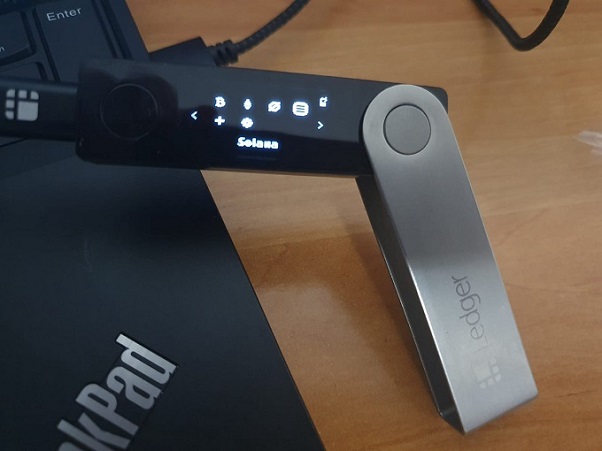
Ledger Nano S is basically a secure Bitcoin hardware wallet that can be connected to any computer through USB. It has a built-in OLED display to double-check and confirm each transaction with a single tap on its buttons.
How to stake Solana with stake2earn 🌜?
1. Set up your Ledger Nano S/X.
First things first! You will need to install the current version of the Solana app on your Ledger device.
How you do it?
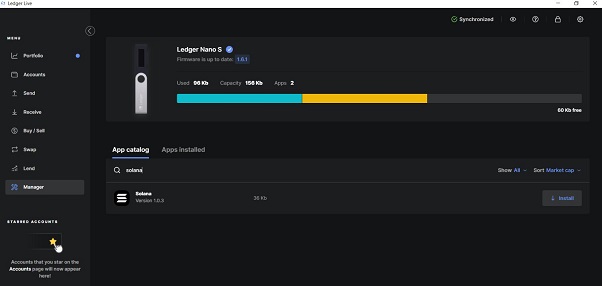
- Open Ledger Live
- Connect and Unlock your Ledger device
- Allow Ledger Live on your device by pressing both buttons simultaneously
- Click on “Manager” tab in the left-hand menu bar
- Search for “Solana” and click “Install”
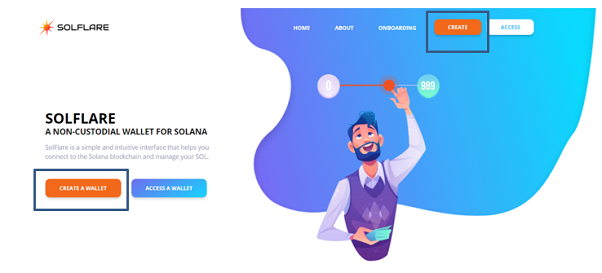
2. Access your Solflare Account
Access the platform https:/www.solflare.com and click “Create” in the top right menu bar.
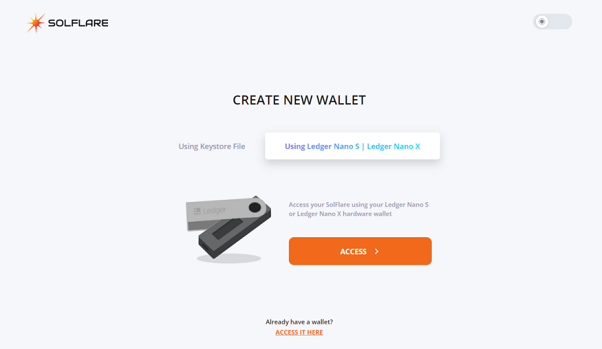
Carefully read the info-text, then choose “Ledger Nano S” and click “Next”.
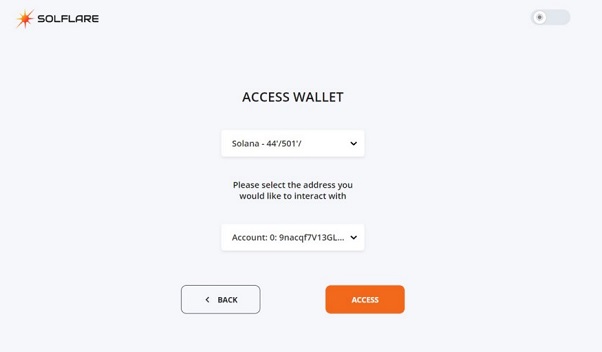
Now, you will be prompted with two drop-down menus: one is used to choose a derivation path and the other to select the address from your ledger device.
In Solflare, you will have only one option available: Solana — 44'/501'/.
After you selected everything, hit “Access” and approve this on your Ledger device to successfully enter your account.
You are now logged and you can see the main menu of Solflare in which you find key information about your Wallet Account such as your wallet account address, your balance, or your most recent transactions.

You can now fund your Wallet to perform actions such as staking.
3. Creating a Stake Account
After your Wallet Account was successfully funded, you can now create one or more Stake Accounts. If you want to delegate to more than one validator, you will need to create a Stake Account for each delegation. You can split your funds in your Wallet Account, but don’t forget that for each transaction there is a small fee. So, leave some $SOL behind to assure this fee is paid.
In order to create the Stake Account, please click on Staking from the top bar, click on “Create Account”. Fill in the amount you want to transfer from your Wallet Account to your Stake Account in the pop-up menu and click on “Next”. Now. You’ll have to input once more your password and hit “Submit”. This process needs to be repeated for every Stake Account you want to create.
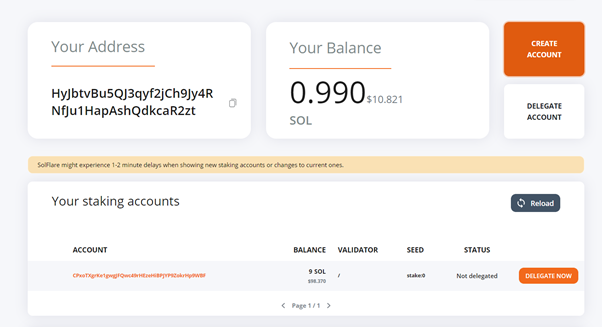
4. Delegating your Stake
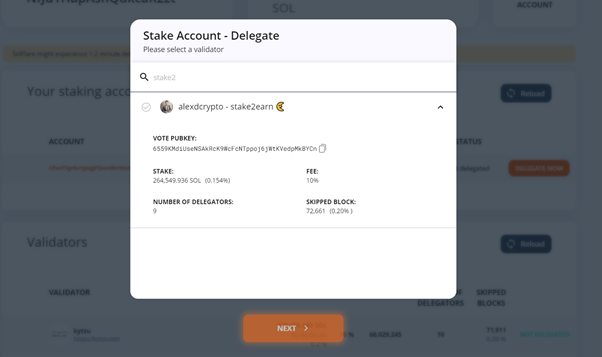
Now, you can select “Delegate Now” next to your Stake Account, and afterwards you will need to select the validator of your choice and click “Next”.
You can either fill in the Search box “stake2earn” and select our validator, or directly look for alexdcrypto — stake2earn 🌜
At this point, you will need to input your password once more and click “Submit”.
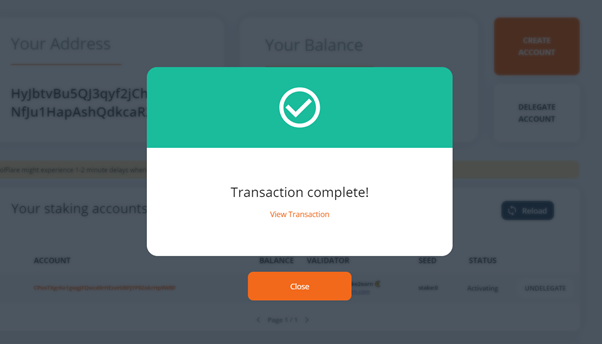
You are now officially a delegator on Solana blockchain! Congrats!
You will start earning rewards once the Warmup Period has concluded (approximative 2–3 days). Until that moment, you will see your Stake Account under the status “activating”.
All is now set to stake, so.. Good luck at staking! 🌜